Documents AI MVP
The Documents AI application is designed to streamline and enhance the efficiency of processing incoming invoices and automating their review.
This process leverages Document and Artificial Intelligence to automatically ingest invoices, map vendors to them, and generate a spreadsheet for uploading into an ERP (Enterprise Resource Planning) system to create payment vouchers.
This ingestion aims to reduce manual effort, minimize errors, and enhance the overall accuracy and speed of the invoice review process.
User Types: Administrator, Standard User
2. Application Access
Admin users and Standard users do not have access to add users to permission groups. A request will need to be submitted in order to provide user’s access. Once they have been added to the permission group, they will be able to log into the application
3. Log Into Documents AI
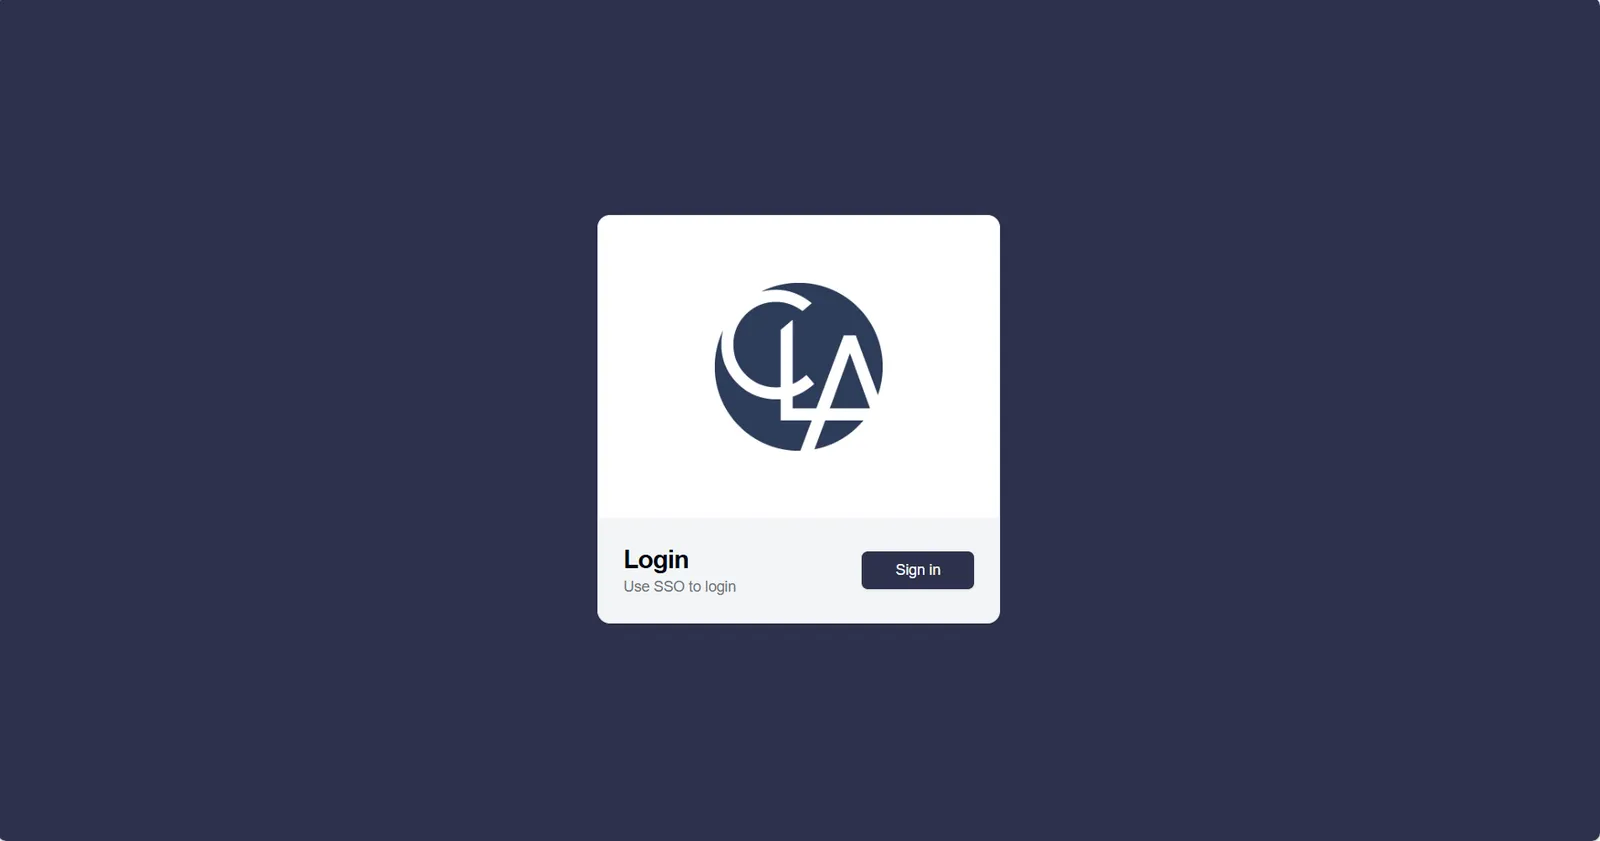
The Documents AI application be be accessed via one of the following are the URLs. You should be able to log into the app using Single Sign On (SSO) by clicking the Sign In Button
documentsai.sbx.claitdev.com | Sandbox
documentsai.dev.claitdev.com | Dev
documentsai.qa.claitdev.com | QA
documentsai.uat.claitdev.com | UAT
documentsai.claconnect.com | Prod
apai.npd-saas.claitdev.com | SaaS Non-Prod
apai.claconnect.com | SaaS Prod
Users will be able to log into the app using Single Sign On (SSO) by clicking the Sign In Button
4. Dashboard
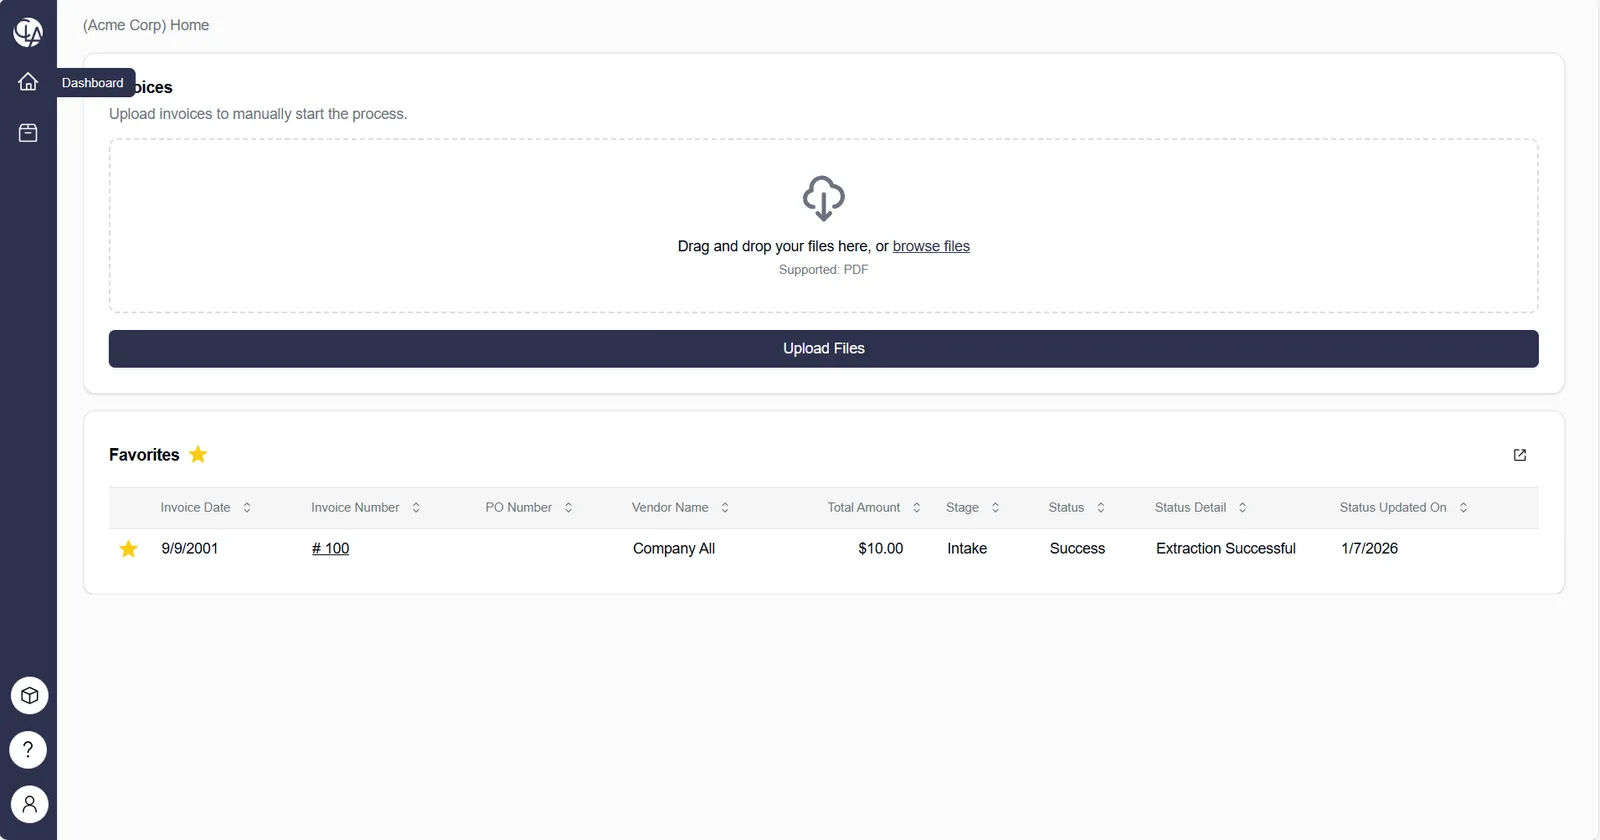
After logging in, the user will be greeted by the home screen, also known as the Dashboard. The blue base on the left will be referred to as the Toolbar, and the white space on the right will be referred to as the Content Area. These elements will be explained in more detail in the following sections.
From the dashboard, the user will be able to upload a new invoice, act on an invoice that is currently in process, navigate to favorites or log out of the app.
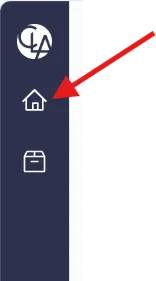
If the user navigates to another page, they can return to the Dashboard from the Toolbar
5. Invoice Upload
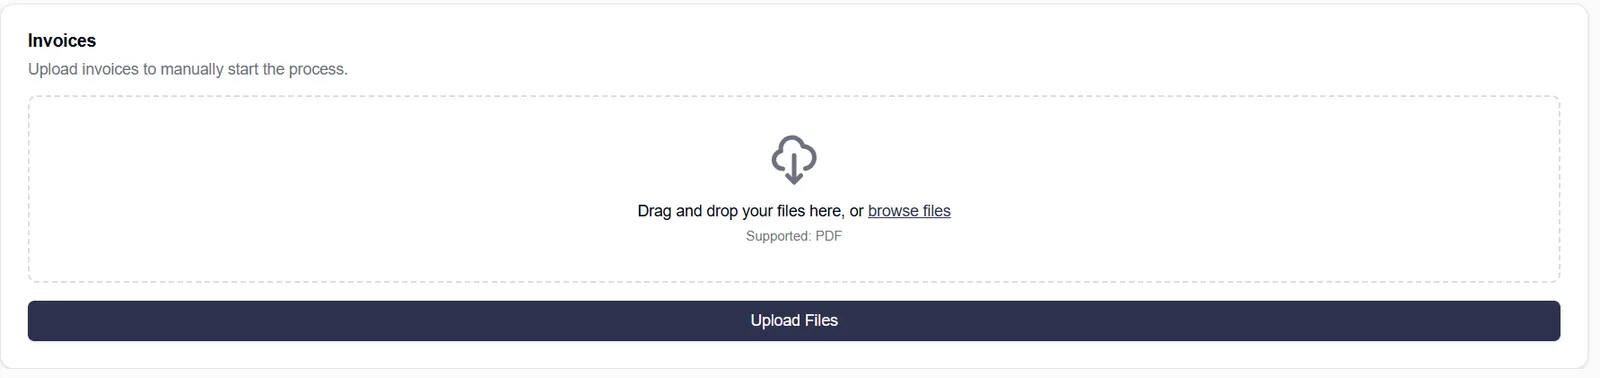
The Invoices box allows users to upload an invoice into the application from their desktop or a network location on their computer. To begin the manual upload process, click the Upload button.
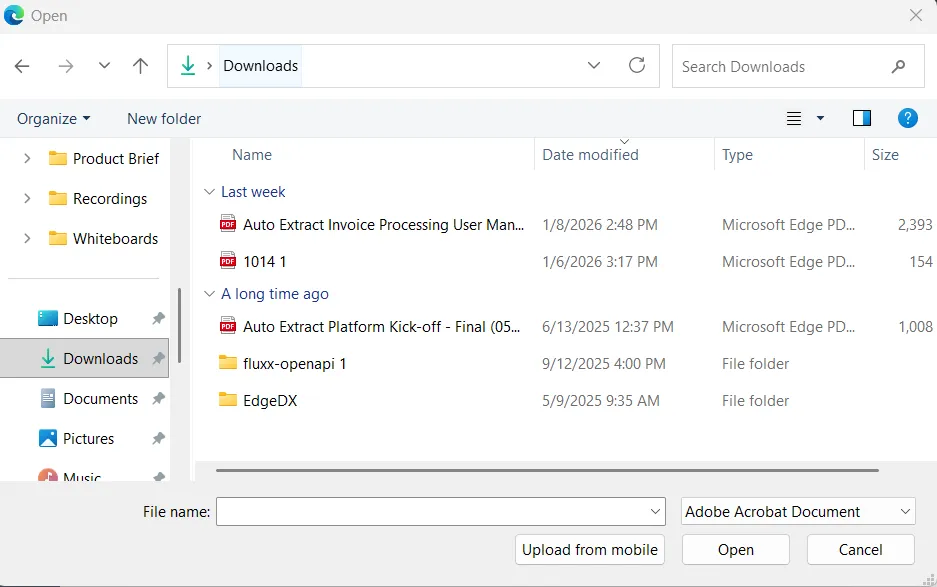
Users will navigate to the location of the saved invoice on their desktop or network and click Open on the bottom of the screen.
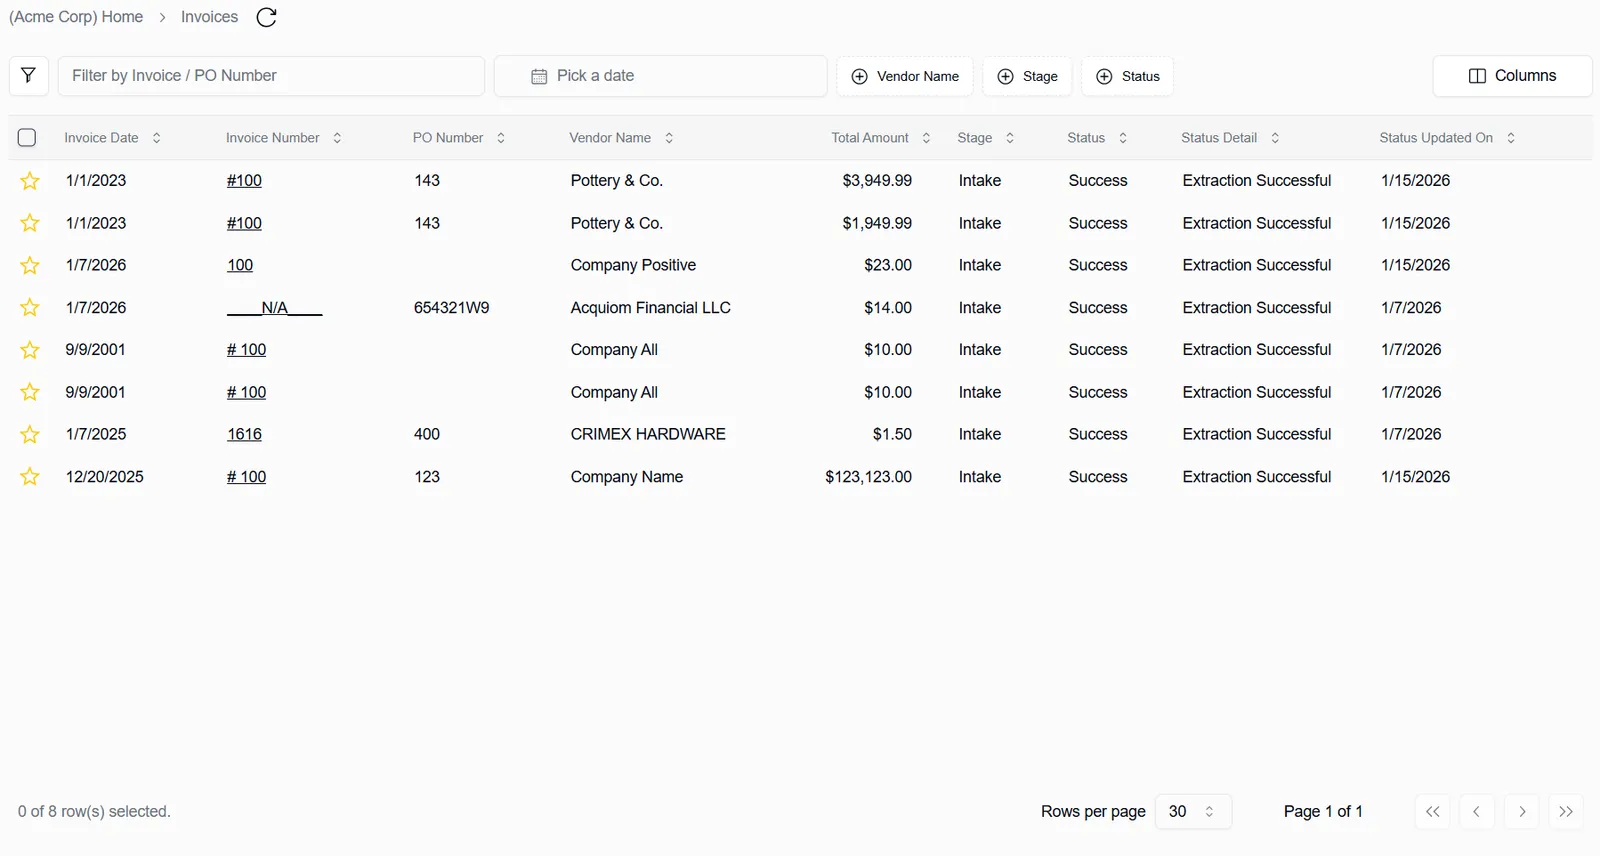
The invoice will be ingested into the Documents AI app, the fields on the invoice will be extracted, and the invoice will be visible in the list of Invoices by clicking the file box icon on the tool bar.
Related APIs
POST /v1/upload/:clientId
6. Invoices View
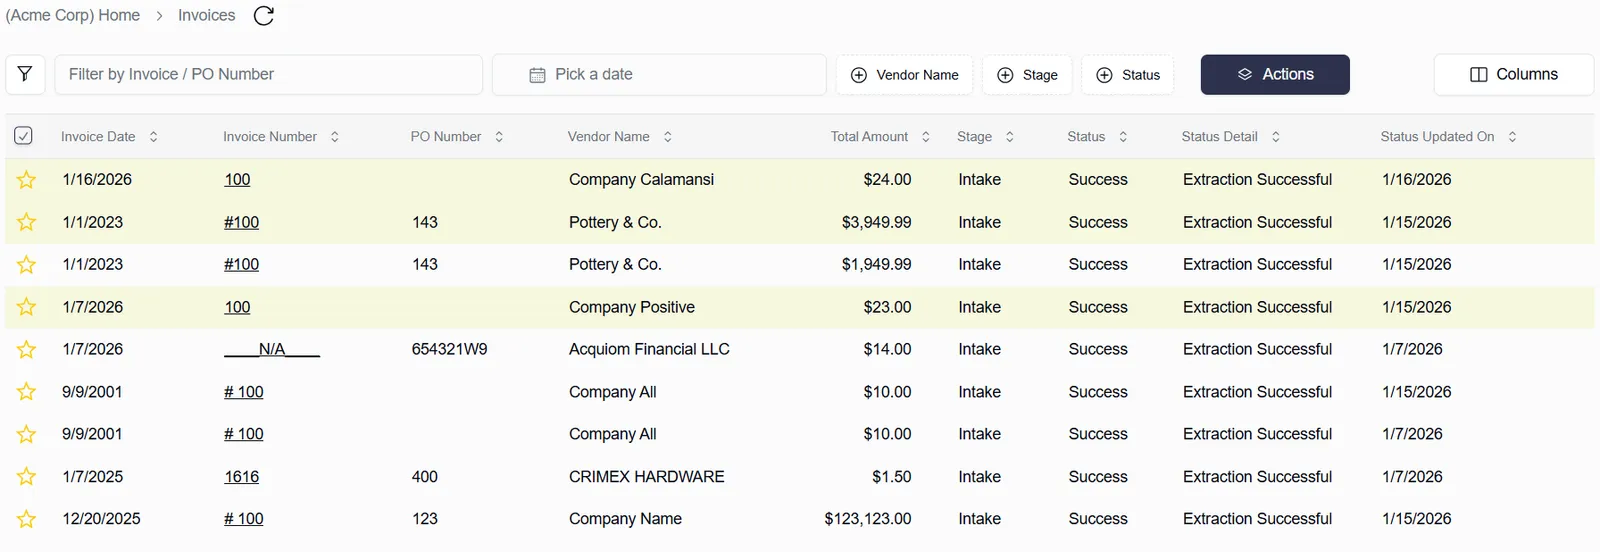
The Invoices view offers a comprehensive list of all invoices ingested into the Documents AI app. Users can apply filters at the top of the page to narrow down the list and sort by any of the columns.
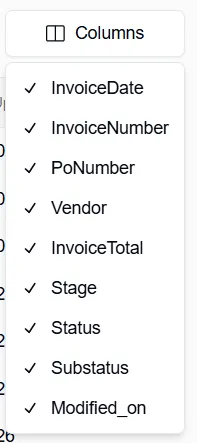
The following fields are displayed for all invoices: Invoice Date, Invoice Number, PO Number, Vendor Name, Total Amount, Stage, Status, Status Detail, and Status Updated On.
To hide or unhide columns within this view, click the columns button the top right and select the desired column. A check mark indicates the column will be visible. No check mark indicates that the column will not be seen in the Invoices view.
Invoices can be sorted by clicking on any column heading until the user achieves the desired order. An arrow will appear next to the column heading, indicated the order in which the invoices are sorted. A downward arrow indicates descending order, an upward arrow indicates ascending order, the caret up/down indicates no sorting applied.
6.1 Invoice Filters
At the top of the screen, users will see several ways to help narrow down the list of displayed invoices. Each will be explained separately.

Filter by Invoice / PO Number
To filter invoices by Invoice Number or PO number, type the number in the Filter by Invoice/PO number box. The list will update dynamically as the user types. Once the complete number is entered, only the matching invoice will be displayed. The fields can be cleared by clicking the Clear Filters button. To view an invoice, click the invoice number.
Filter by Pick a Date
To filter invoices by date, click the Pick a date box to display a calendar. Use the arrows to navigate through each month and select a date.
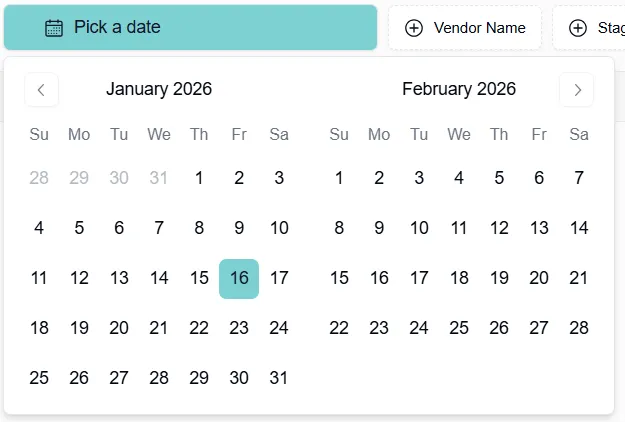
After selecting a date, the invoice list will filter to show only those matching your choice. The user may need to click outside the calendar to view all matching invoices. Then, click on an invoice number to view it. If a wrong date is selected or a different date is needed, the user can click the Clear Filters button to reset.

Filter by Vendor Name
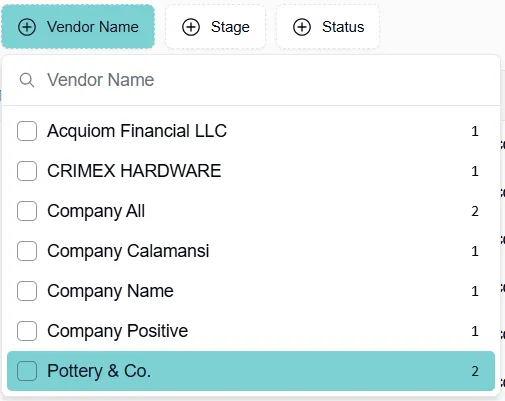
To filter invoices by vendor, click the Vendor Name box and either start typing the vendor’s name in the vendor’s name box, or select a vendor from the list. Click outside of the search box to see all matching invoices. Click on the invoice number to view the invoice. To clear the filters, uncheck the box next to the vendor’s name, click the black X after the vendor’s name, or click the Clear Filters button. If the vendor is not listed, no invoices have been ingested from them. Please note that the number displayed on the far right indicates the number of invoices processed per vendor.
Filter by Stage
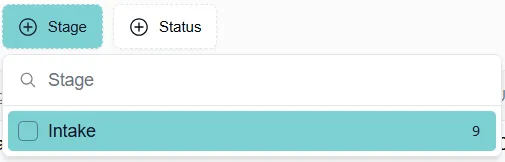
To filter invoices by stage, click the Stage box and select the one or more stages. The number next to each stage shows the current count of invoices in that stage but will remain unchanged with further filtering. To remove a selection, click the box next to the stage name or select Clear Filters.
After selecting a stage, the invoice list will filter to show only those matching your choice. Click outside the filter box to see all matching invoices. Click on an invoice number to view the invoice.
Filter by Status
To filter invoices by status, click the Status box and select the desired status or statuses. Click outside the search box to view all matching invoices. The number next to each status shows the current count of invoices in that status but will remain unchanged with further filtering. Click a status to select or deselect it. To clear the selection, click the X next to the status, the Clear Filters box, or the Clear Filters option at the bottom.
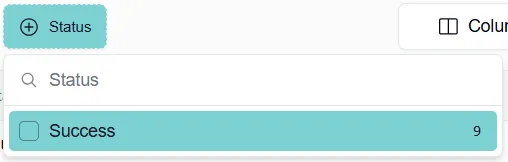
After selecting a status, the invoice list will filter to show only those matching your choice. Click outside filter box to see all matching invoices. Click on an invoice to view it.
Status Overview
Invoices can be in multiple statuses. Those statuses and an explanation of each is below:
- New - The invoice is new to the stage and cannot be acted upon yet.
- Processing - The invoice is being processed and cannot be acted upon.
- Failed - The invoice failed at some point within the process and requires human intervention.
- Success - The invoice was successfully processed
6.2 Process Invoices
Bulk Process
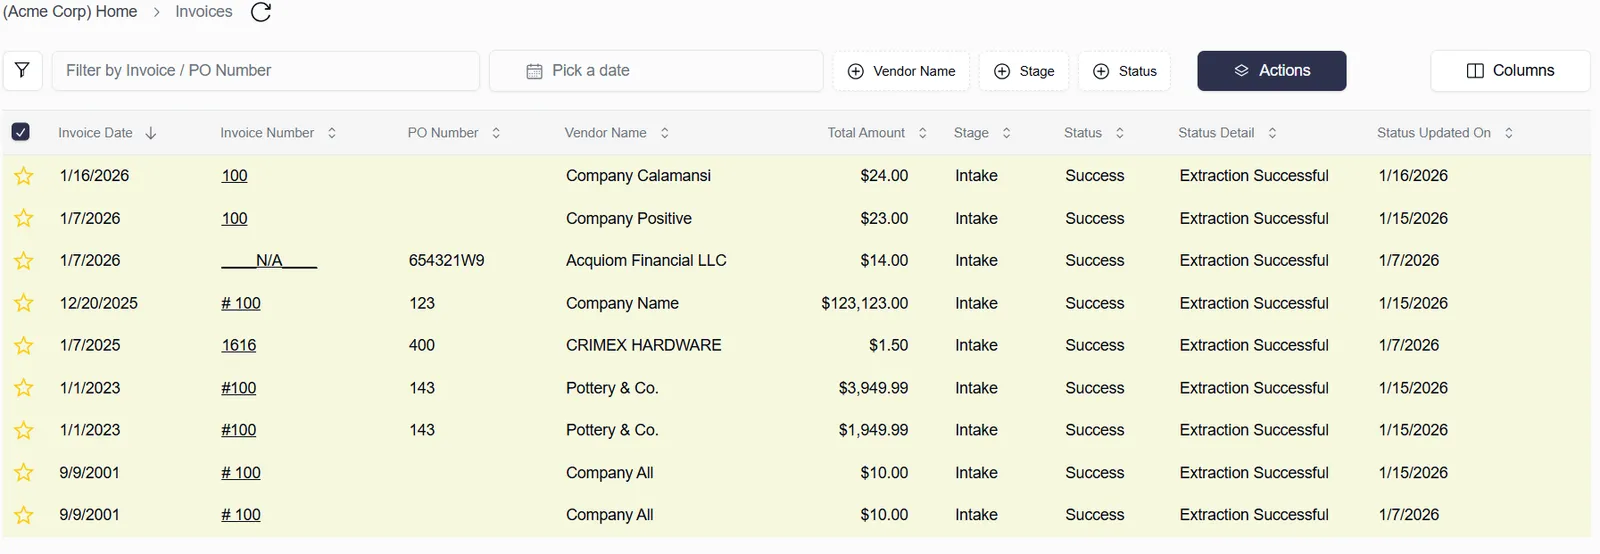
Multiple invoices can be selected simultaneously. When selecting invoices, hold the CTRL key if you want to click the Invoice Number field to avoid opening a single invoice. As invoices are selected, the lines will turn yellow, and a counter at the bottom left will display the number of invoices selected.
All invoices can be selected by clicking the checkbox next to Invoice Date column. To deselect all invoices, uncheck the box. When all invoices have been selected, click the Actions button, choose Bulk Process. Export CSV will be explained in the Export CSV section.
At the top, the total number of selected invoices will show and which the invoice currently being reviewed. Users can move forward or back through the invoices by clicking the buttons.

6.3 Intake Stage
Screen Navigation
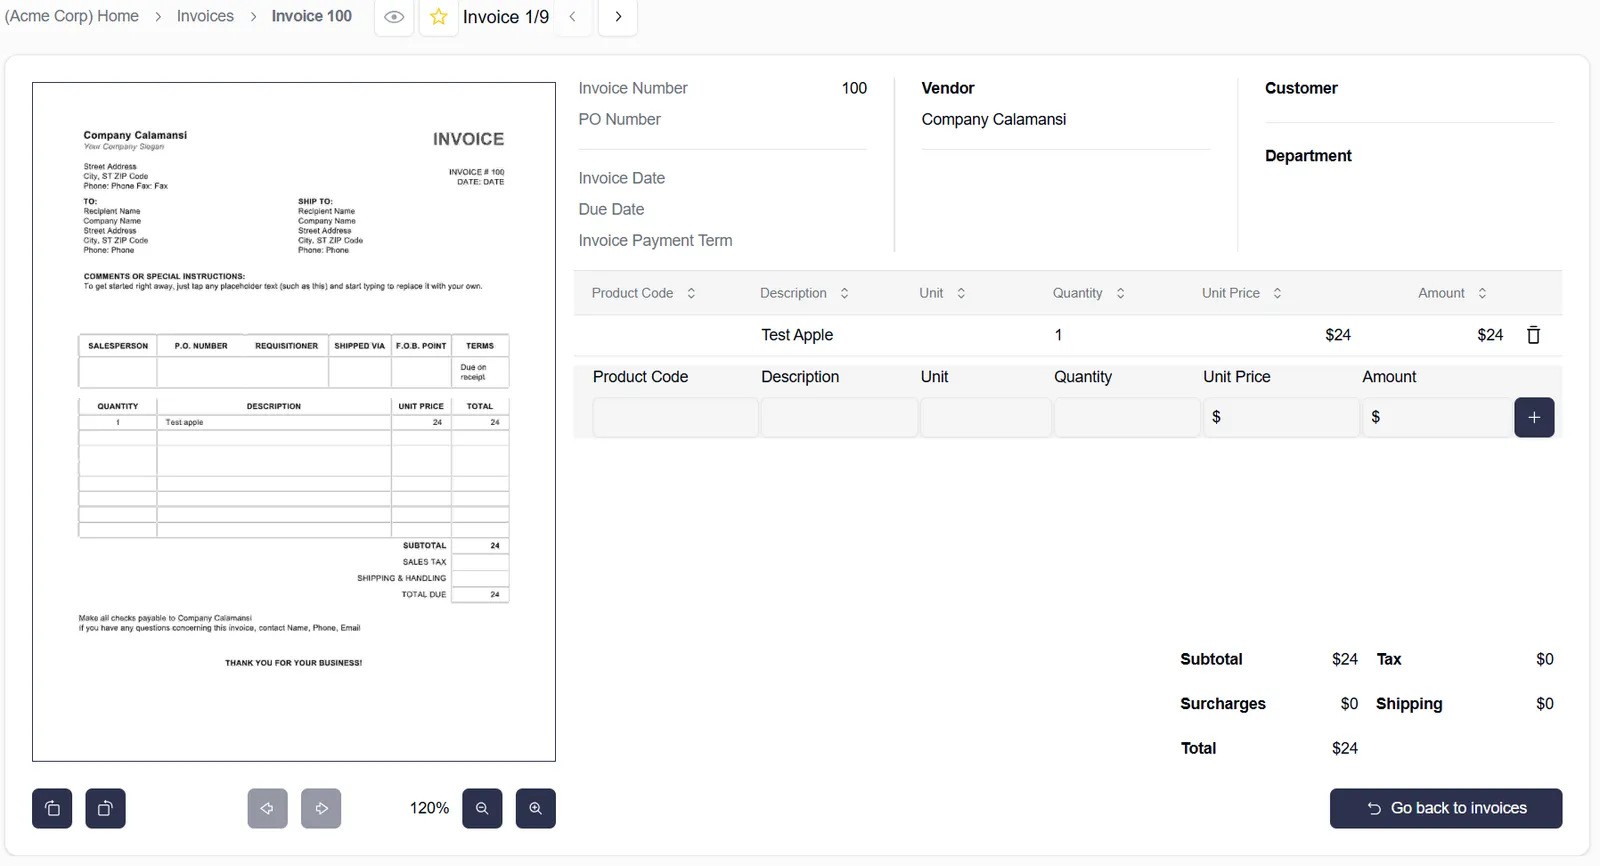
After selecting an invoice, it appears on the left with extracted fields. On the right, you will see fields that the model extracted from the invoice.
Breadcrumb Trail
At the top, the breadcrumb trail shows the path. Users can return to the Dashboard (Home) or Invoices by clicking the breadcrumb links or using the left toolbar icons: House for Home, File box for Invoices, and Person for account management, settings, or logout.
Favorite
The star icon allows you to save this invoice as a Favorite and view all invoices tagged by clicking the star icon on the toolbar.
Rotate Invoice
At the bottom left, under the invoice, you will find buttons to rotate the invoice clockwise or counterclockwise.
View all pages of an invoice
In the middle, under the invoice, the forward and back buttons navigate through all pages of a multi-page invoice.

Zoom
To the right, under the invoice, the magnifying glass icons with plus and minus signs are used to zoom in or out, showing the selected zoom percentage.
The extracted invoice will appear on the left and the extracted data will appear on the right side of the screen. Users may need to scroll to view all line items and fields. Scroll bars will appear if not all data is visible
When the data is extracted, the model performs the following checks which will be explained in more detail below.
- Line Check: Quantity × Unit Price = Amount
- Subtotal Check: Sum of Amount values = Subtotal
- Total Check: Subtotal + Shipping + Tax = Total
Line check
If the first check fails (Quantity × Unit Price = Amount), the erroneous line item will be highlighted in pink with an error icon. Hover over the icon to see the error description. Note on Rounded Totals: If the invoice data shows inconsistencies when extending prices from unit price to subtotals, and the difference is less than $0.005, it will be assumed that the unit price was rounded. In such cases, the extended cost will be divided by the quantity to determine the unit price, which will then be rounded to the nearest cent
If there is an error during the extraction process, it can be corrected by modifying the values in the blank line below the error (highlighted below) and clicking the blue check box to save and re-evaluate the data. If the line needs to be removed, click the trash icon. In this example, the data would be corrected by adding a quantity of 1 to the line and clicking the blue checkbox next to the line.
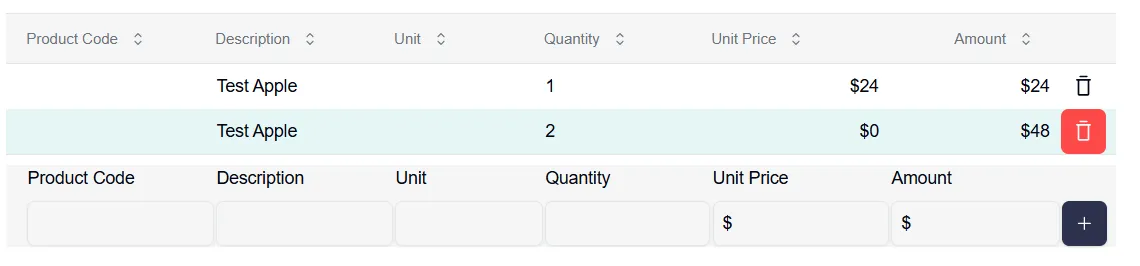
The line details will be updated, and the checking process will be redone. A confirmation message will indicate that the invoice has been updated.
Subtotal and Total Checks
If a subtotal or total check fails (Sum of Amount values = Subtotal), this will be highlighted in red with an error message. Hover over the error icon to view the details.
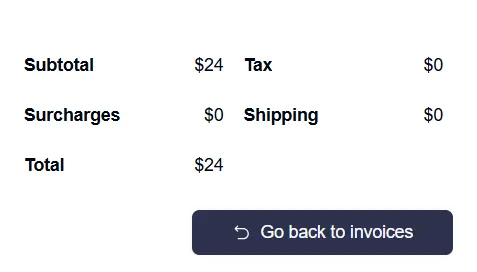
If there is an error identified, it can be modified the data presented by:
- Using the trash icon to remove a line

- Adding data to the blank line below the invoice lines by clicking the blue plus sign to add a new invoice line
6.4 Export CSV
To export invoices, highlight them, click the Actions button, and select Export to CSV.
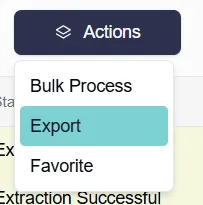
A brief screen while the export file is being created. Once it is ready, the file will appear in the downloads folder and be presented on the screen. Click the open file button, the folder button to navigate to your downloads folder and open the file from there, or the trash can to delete the file.
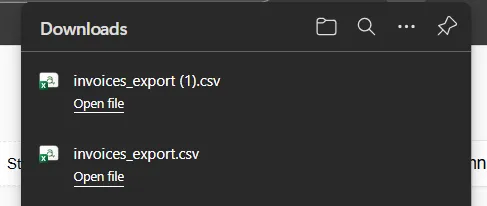
When the Excel file is opened, the fields that were exported from Documents AI will be shown. Documents AI will create one record per line. So, if an invoice has multiple line items, each line will be represented in the Excel file with the invoice number and other invoice fields repeated.

7. Client Switcher
If the user is assigned to multiple clients, they can switch between clients through the client switcher. This allows them to upload invoices only related to that specific client. The user can switch between clients at any time while navigating the application through the sidebar menu
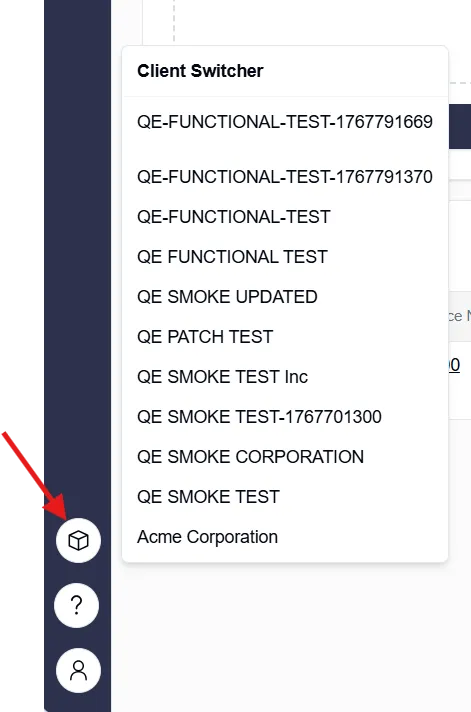
Important Note: If an invoice is uploaded for one client, it cannot be uploaded for a different client.
Related APIs
8. Help
Users can access the Help menu through the sidebar menu
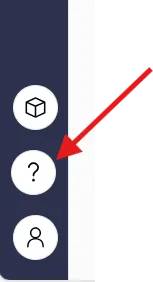
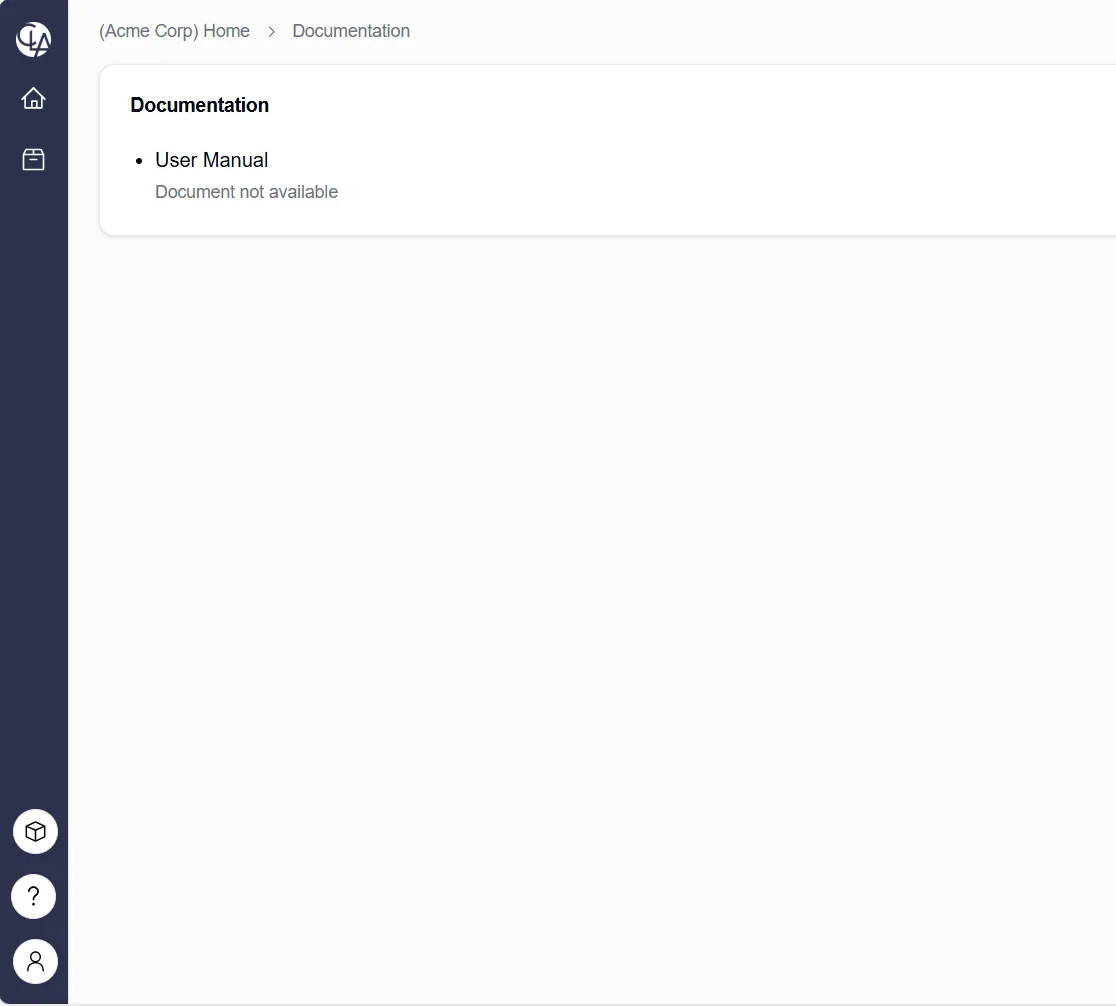
There are two sub-menus: About and Documentation
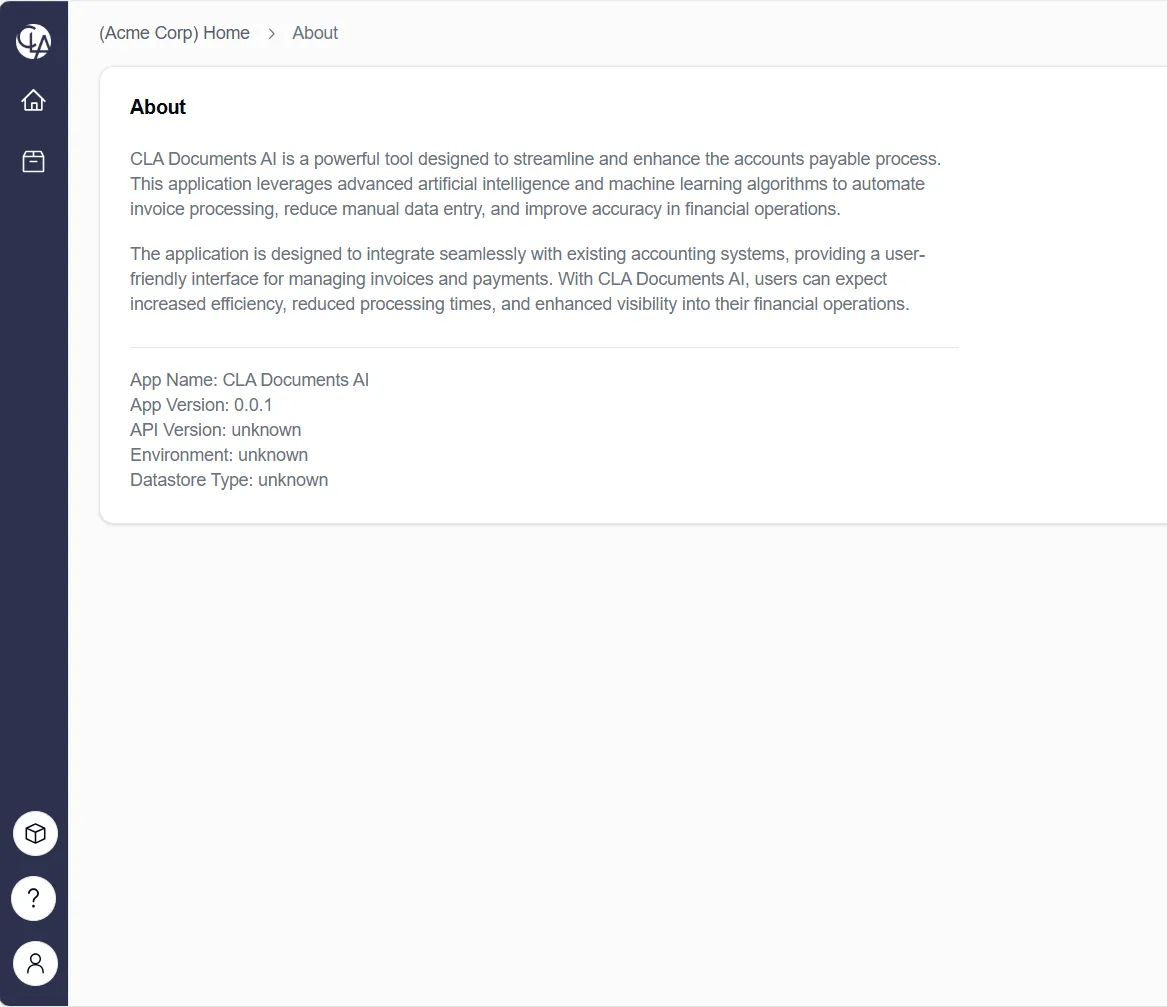
8.1 About
Users will see a description about the application along with details like app name and version.
8.2 Documentation
Users will have access to the user manual once it is available (currently not available in MVP).
9. Administration
Important Note: Only Admin users will have this menu option available.
The administration page is where admin users can manage clients and users. Admin users will have the following capabilities:
- Create New Clients
- Edit Existing Clients
- Change Active Clients to Inactive (or Inactive to Active)
- View and Search the Client Table
- View Client Details
- View Number of Total Clients, Number of Active Clients, and Number of Inactive Clients
- Create New Users
- Edit Existing Users
- Change Active Users to Inactive (or Inactive to Active)
- Delete Users
- View and Search the User Table
- View User Details
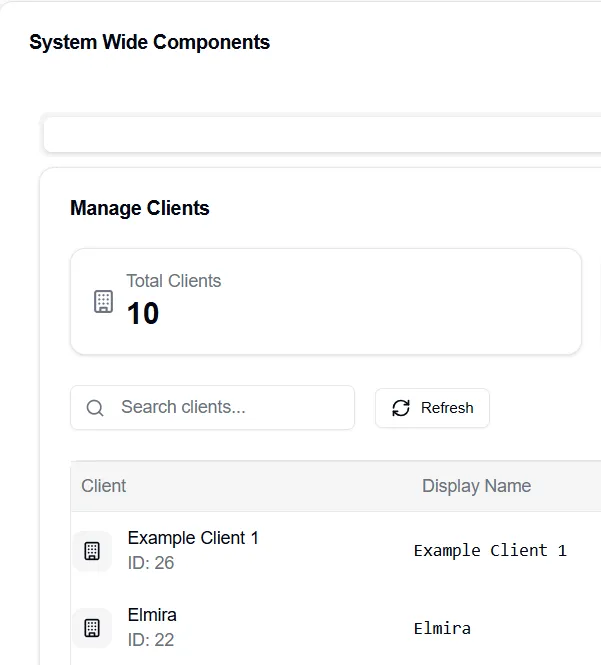
Clients
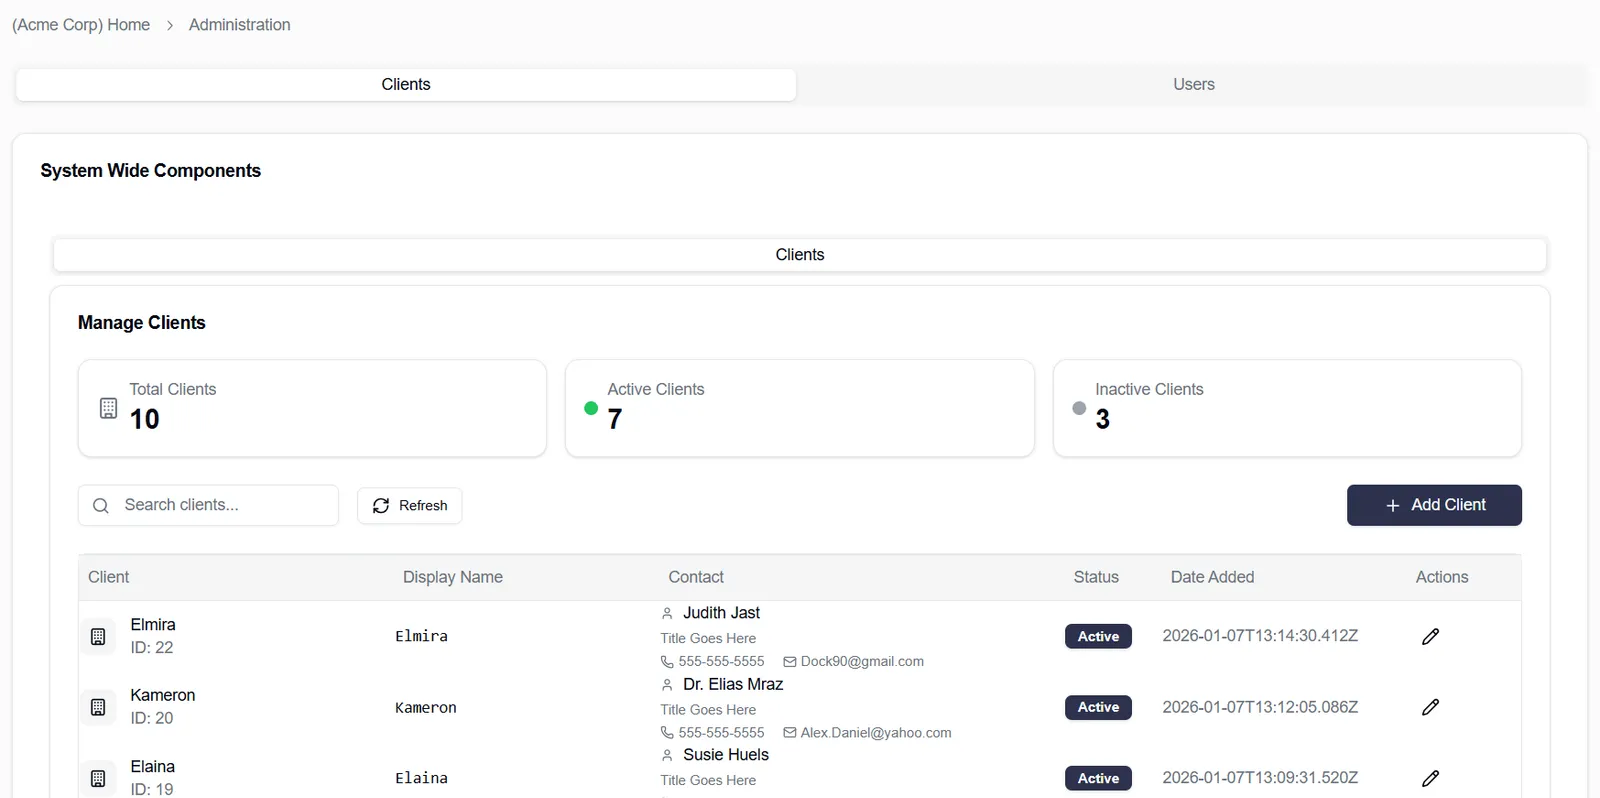
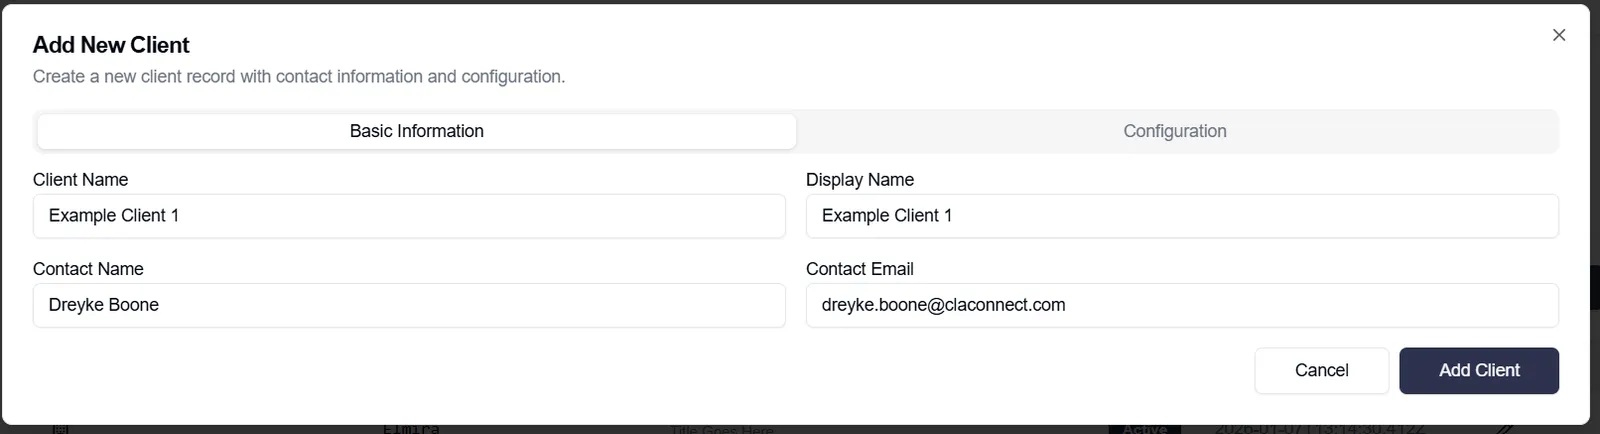
To create a new client, the user will select the + Add Client button which will bring up a modal to enter the client details. On save, the client will appear in the client table.
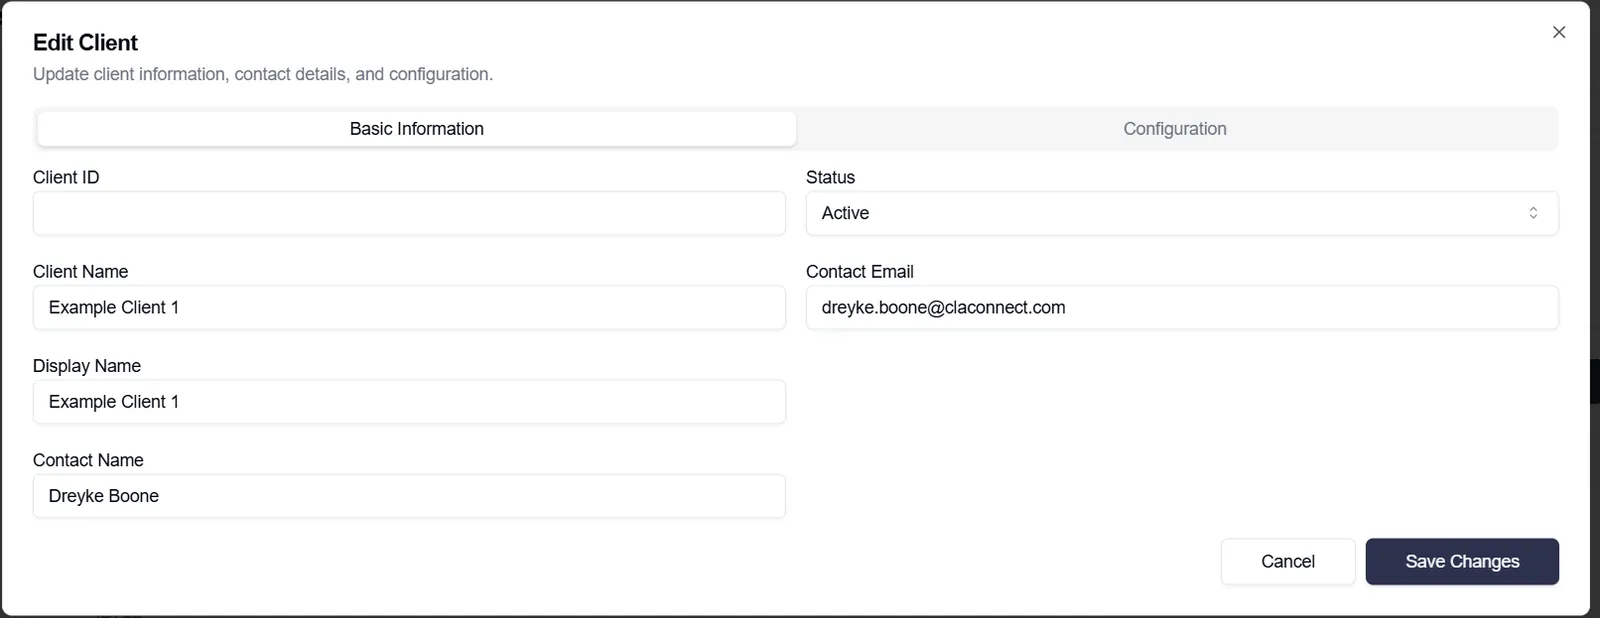
To edit an existing client, the user can select the action button on the client table in the row of the client they want to edit.
The user can search the client table by entering the client name they want to search for.
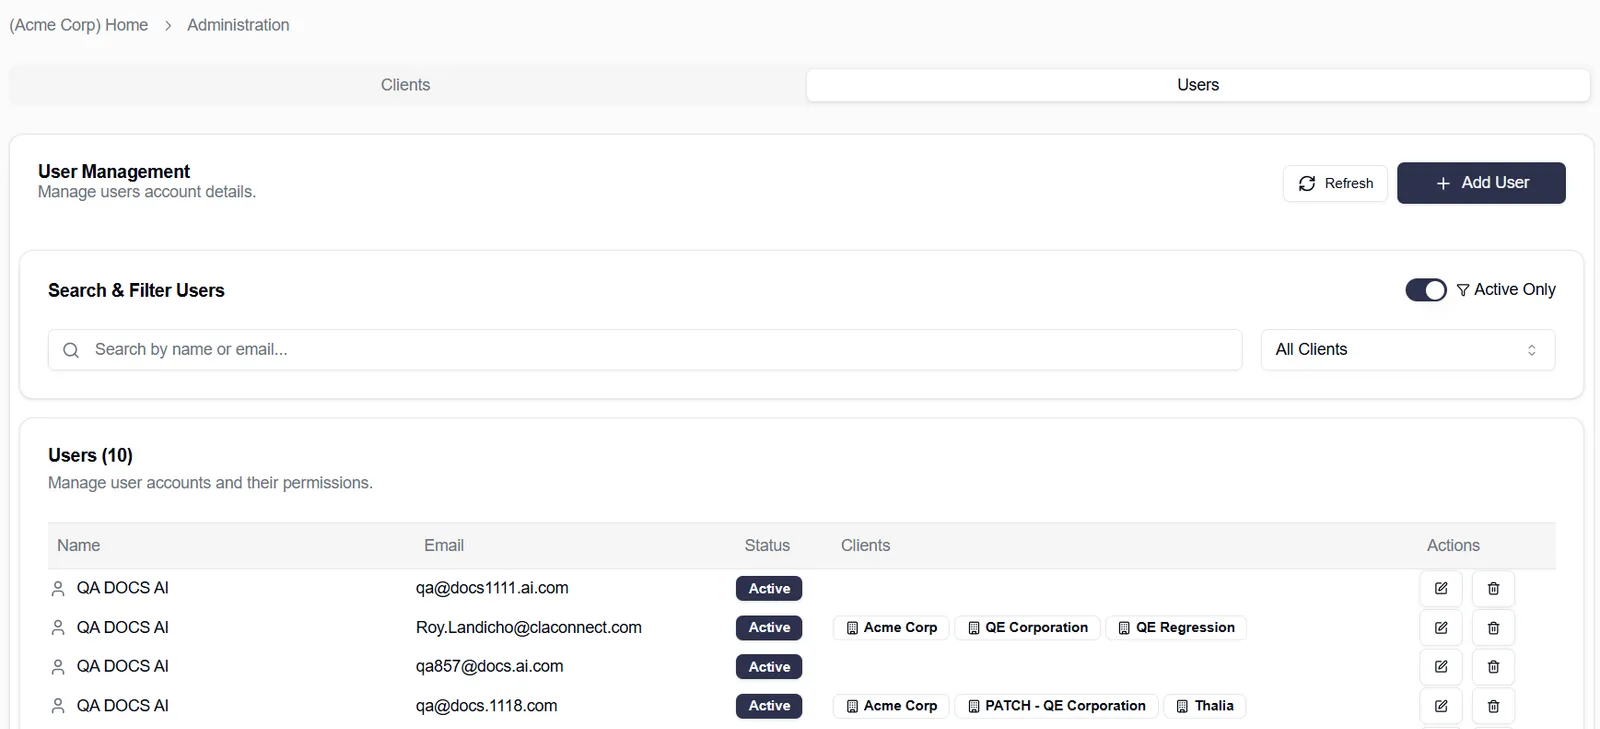
Users
Admin users can manage users through the Users tab on the Administration page.
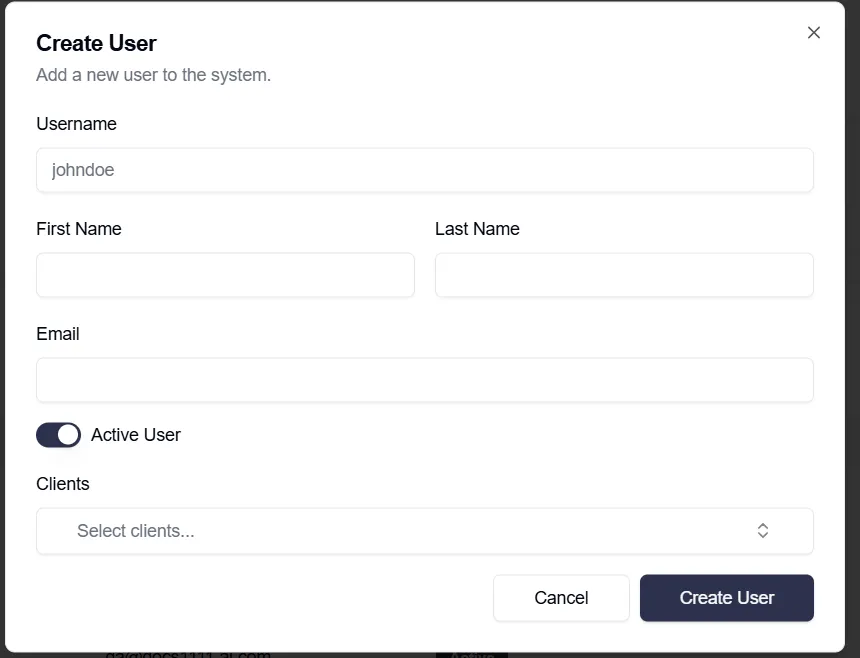
Add New User
Admin users can add new users and assign them to clients by clicking the + Add New User button.

A modal will appear where the admin user can enter user details. One user can have multiple clients assigned.
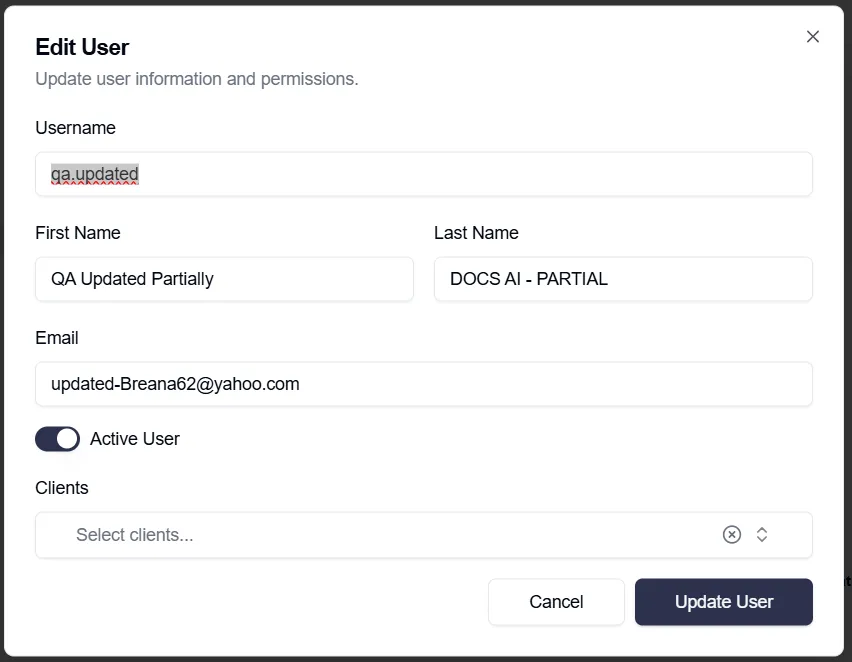
Edit User
User details can be edited by selecting the pencil icon under the Actions column. Note, only one user can be edited at a time.
A modal will appear where the admin user can edit the user details, including moving the user to inactive
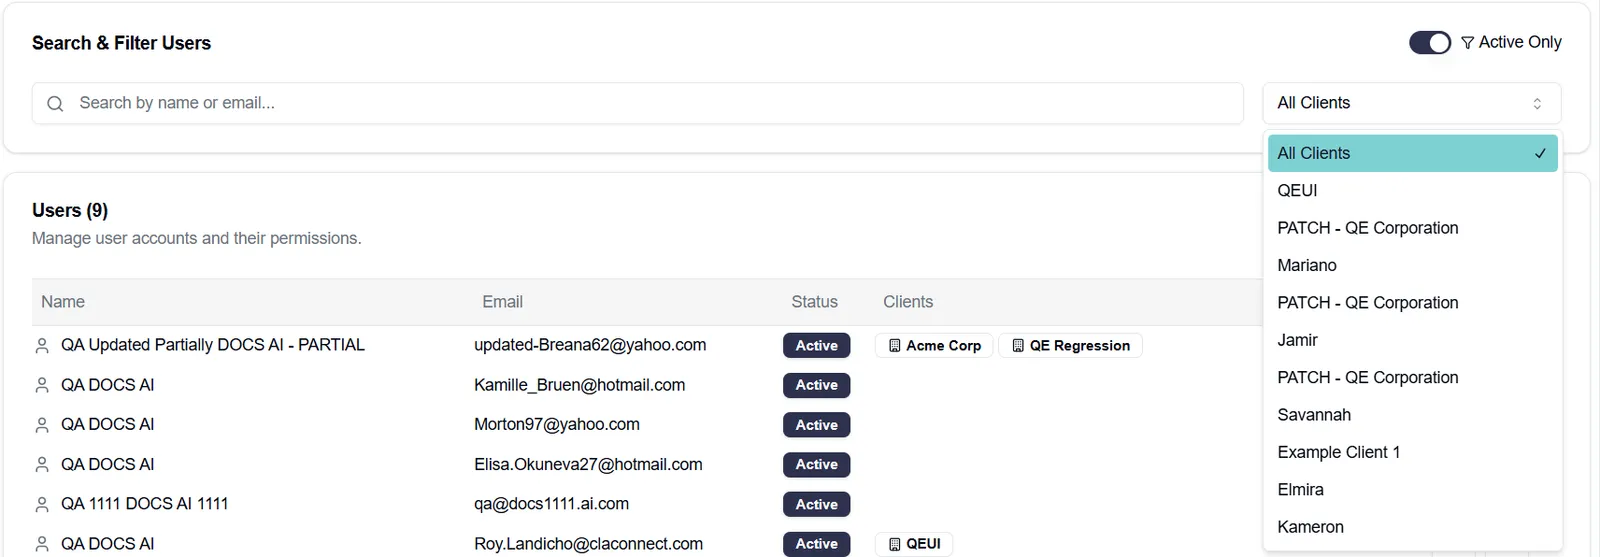
Filter User List
The user list can be filtered by searching by name or email, viewing only active users or both inactive and active users, or searching users by client.
10. Logout
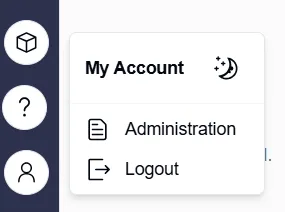
Select the Account icon and click Logout to be logged out of the application and return to the login screen